When I make a mix CD, it’s always a ridiculous production, which is probably why I’m so behind on CD’s owed. In addition to agonizing over the selection of enough songs to completely fill an 80 minute CD, sequencing them to my satisfaction, and editing out silence at the beginning and end of each track, I usually focus a disproportionate amount of my energy on the packaging. (Yes, I actually edit out silence. In some cases I actually re-edit songs to take out parts I don’t like or arrange them differently. I am aware that this is insane, but it makes totally unmixworthy songs mixworthy. In my insane brain, at least.) I finished a Valentine’s mix this year, and in the spirit of Craftster, I documented the process and am posting it here. Without further ado, here’s how to make some wicked hand-made mix-cd packaging.
Supplies (In order of appearance):
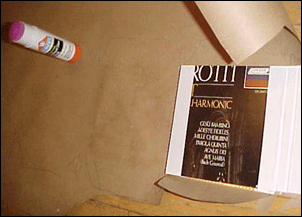
- Thin, rigid cardboard (I used bad LP covers)
- duct tape
- kraft paper
- gluestick
- razor knife
- spraypaint
- patience
- paper cutter (Not pictured)
The hard part is planning out what you’re after in your head beforehand. I’m bad at that so I just jump right in and start cutting out basic CD-case-sized shapes to mess around with.
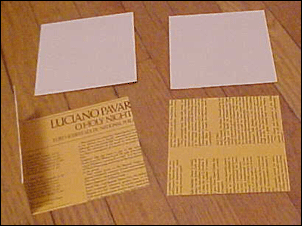
I usually cut one piece extra long so a ‘flap’ can be folded over to form the CD ‘pouch.’Please excuse the terminology.
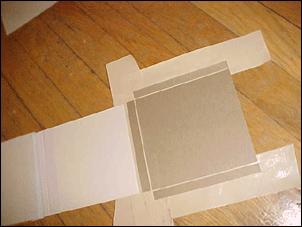
Once you’ve decided what you’re going to do, you can start taping the cardboard bits togetherwith duct tape. When taping two of the larger bits together, its a good idea to put a little strip of cardboard between the two large pieces to make a sort of ‘hinge’ and add some vertical room for the CD to occupy.
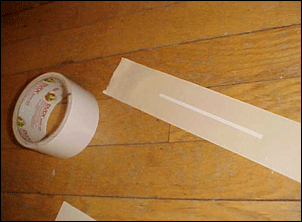
Leave some space between the large pieces and the strip for cheating room – this lets the’hinge’ bend. Fold the ends of the tape over, and in the spaces between the cardboard stick the tape to itself. That way the duct tape areas will be doing all the bending. I’m not sure if that makes any sense.
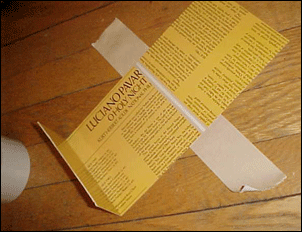
Go ahead and get everything taped together. The good part about this part is you can mess around and untape and redo things until you end up with something you like. You can kind of make it up as you go along.
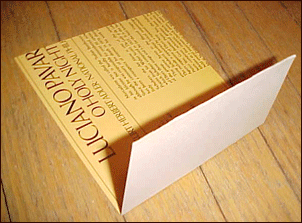
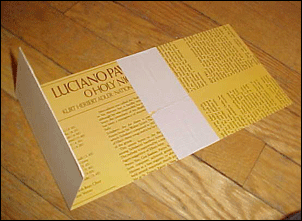
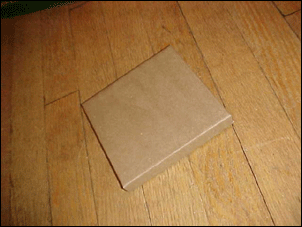
Before moving on, make sure that everything folds up how you want it relatively easily, because once you add paper everything will be thicker and less willing to fit. I got a little fancy on this one: its four flaps that fold up into a little box.
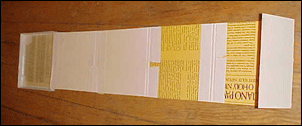
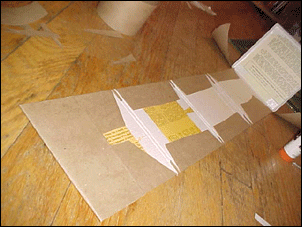
Once you’ve got your cardboard and duct-tape skeleton assembled, you can start covering it. I’m OCD and insane, so I try and do the outside with one large, continuous piece of brown kraft paper (you can buy it in rolls). I lay the cardboard skeleton out on the paper and mark off cut and fold points with a pencil, as seen below.
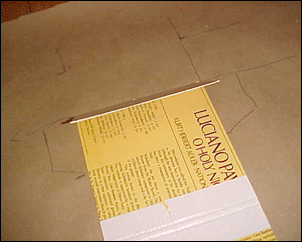
Next is the cutting and gluing. This is the most work-intensive part of the whole process. I start at one end and cut and glue as I go – if you try and make all the cuts from one end to the other without gluing, the angles will get all messed up.

Once you’ve got the outside covered up, you can start covering the inside. There’s a bunch of
ways to do it, but as you might have guessed I’ve devised an appropriately ridiculous and obsessive method. With the folds layed flat, I glue a little rectangle of Kraft paper over the ‘hinge’ part, and then cut a square for each larger flap, to overlap the ‘hinge’ piece. Then I bend it while the glue is still wet to force a few creases into the paper. If you let it dry flat it won’t fold up like you want it to. I forgot to take pictures of this part, so you’re on your own.
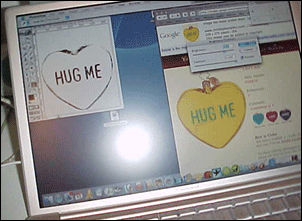
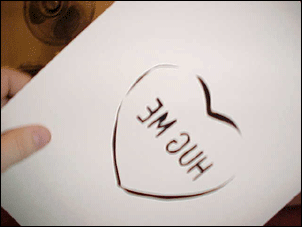
Next you have to decorate it. In this case I found an image via google image search and
jacked up the contrast in photoshop:
Next, I printed out a black & white blowup of the heavily contrasted image on cardstock, and used a razorknife to cut it into a stencil.

With healthy doses of spraypaint and warholian repetition, I put the finishing touches on the case.
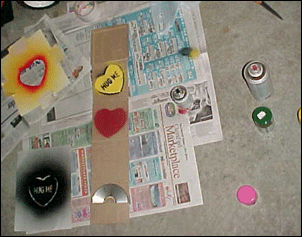
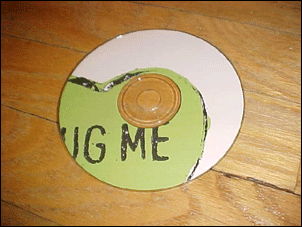
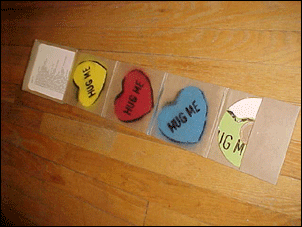
I recycled the same image and printed it on a sticker for the on-CD artwork.
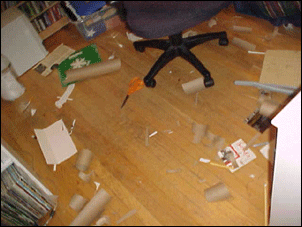
The end result of this whole process is a bunch of little bits of paper and cardboard everywhere.
…and the finished product:
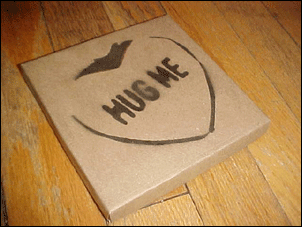
Good times!